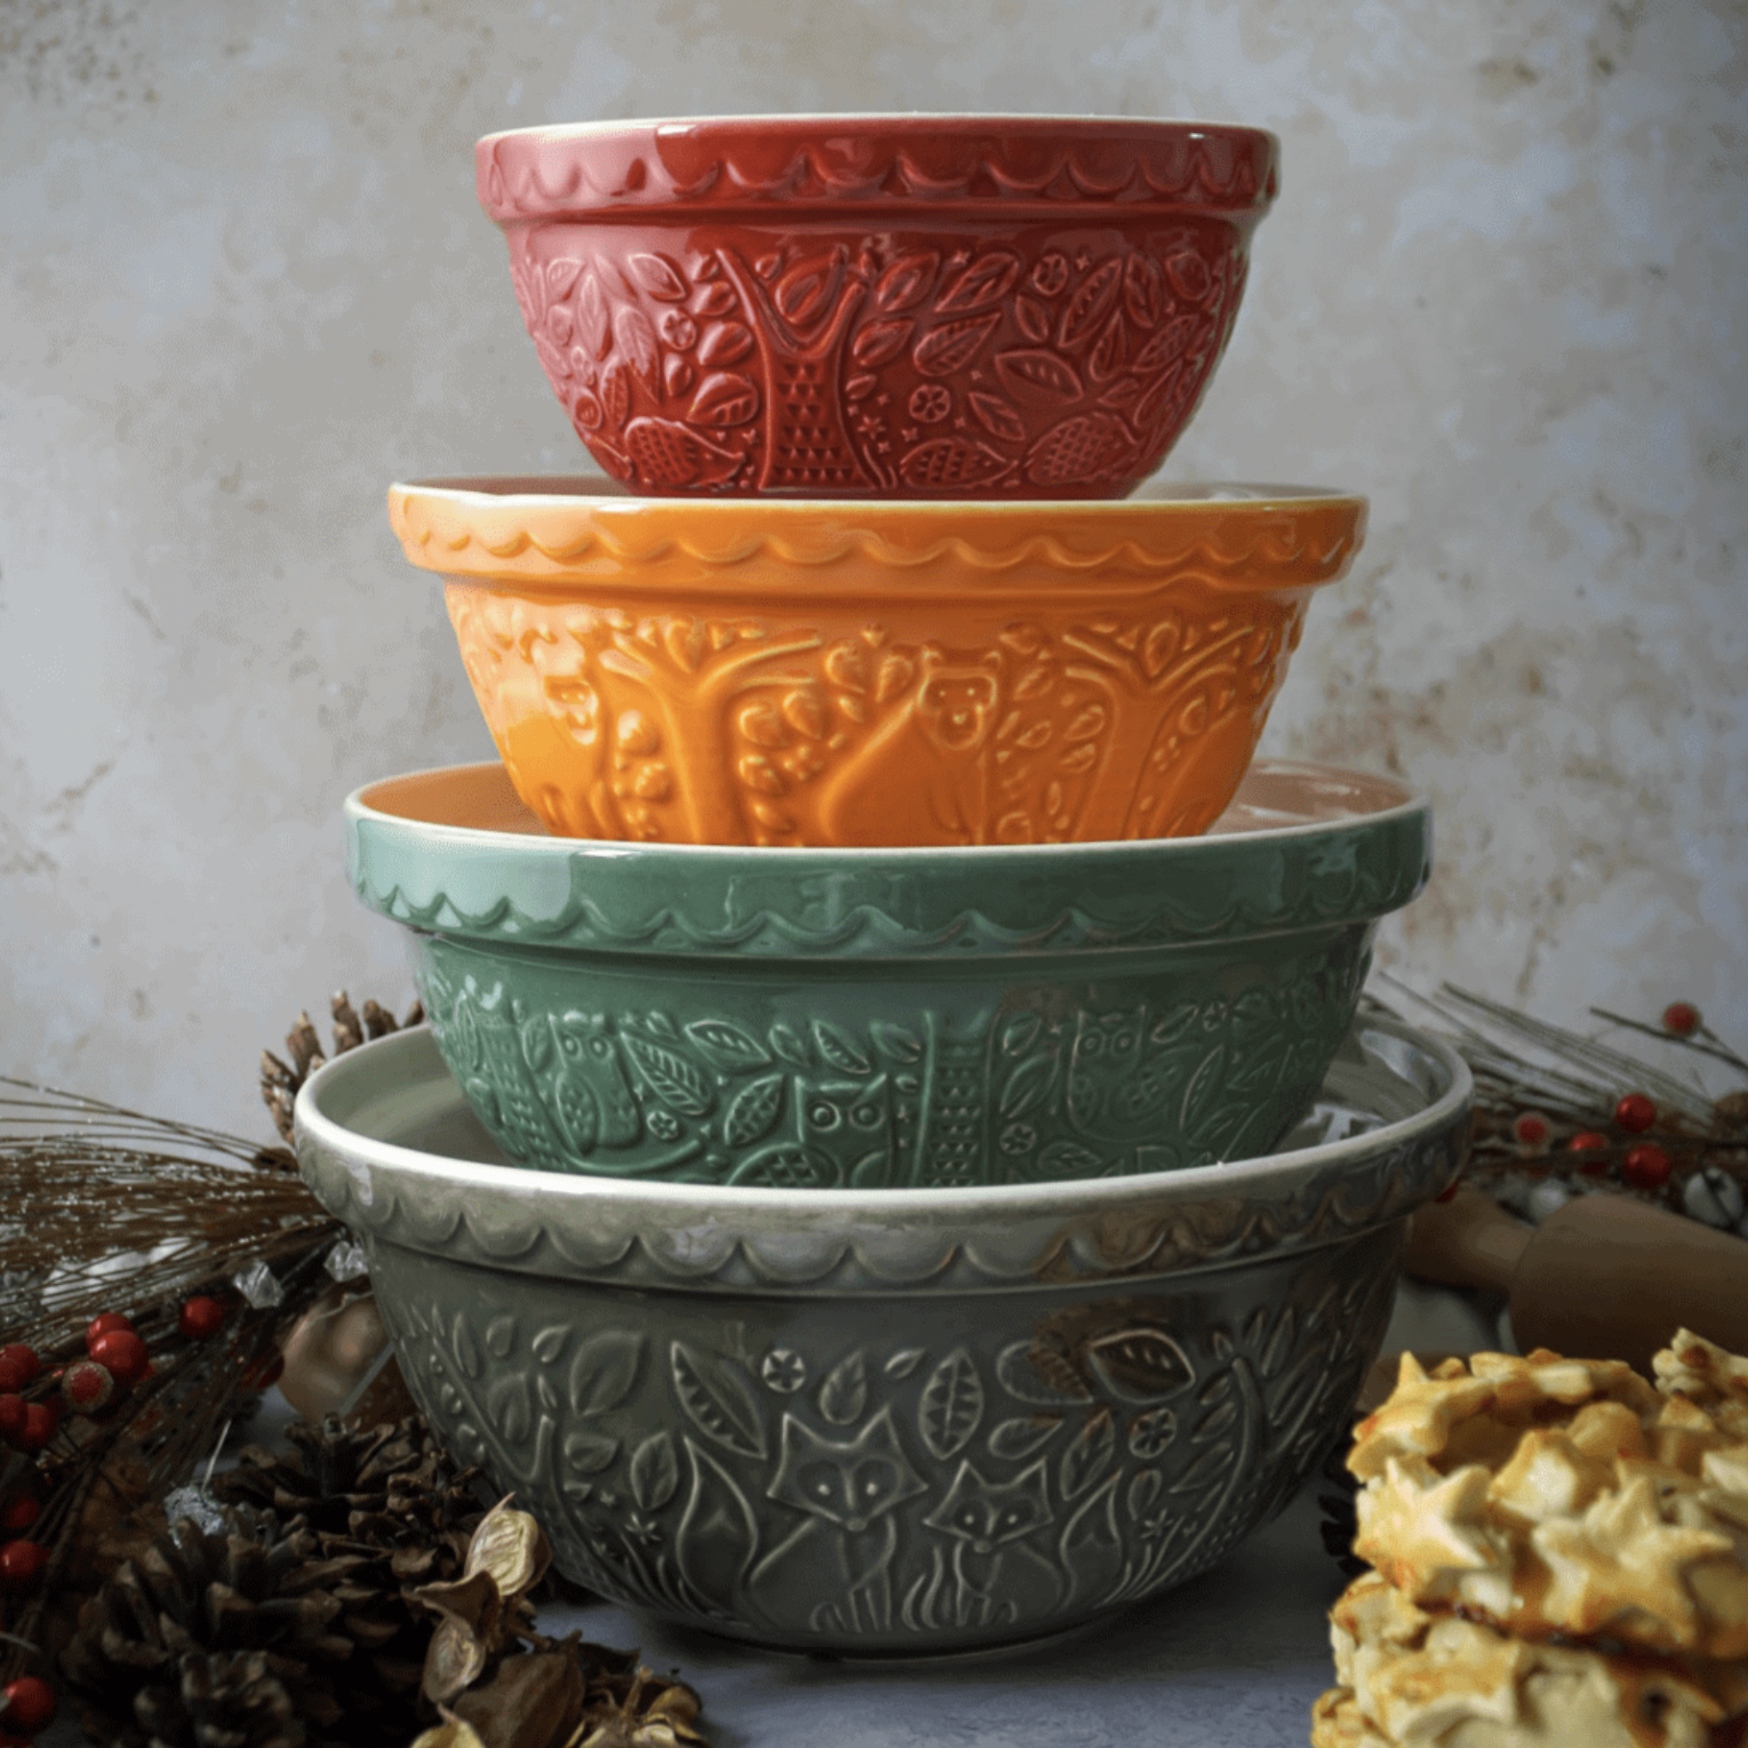
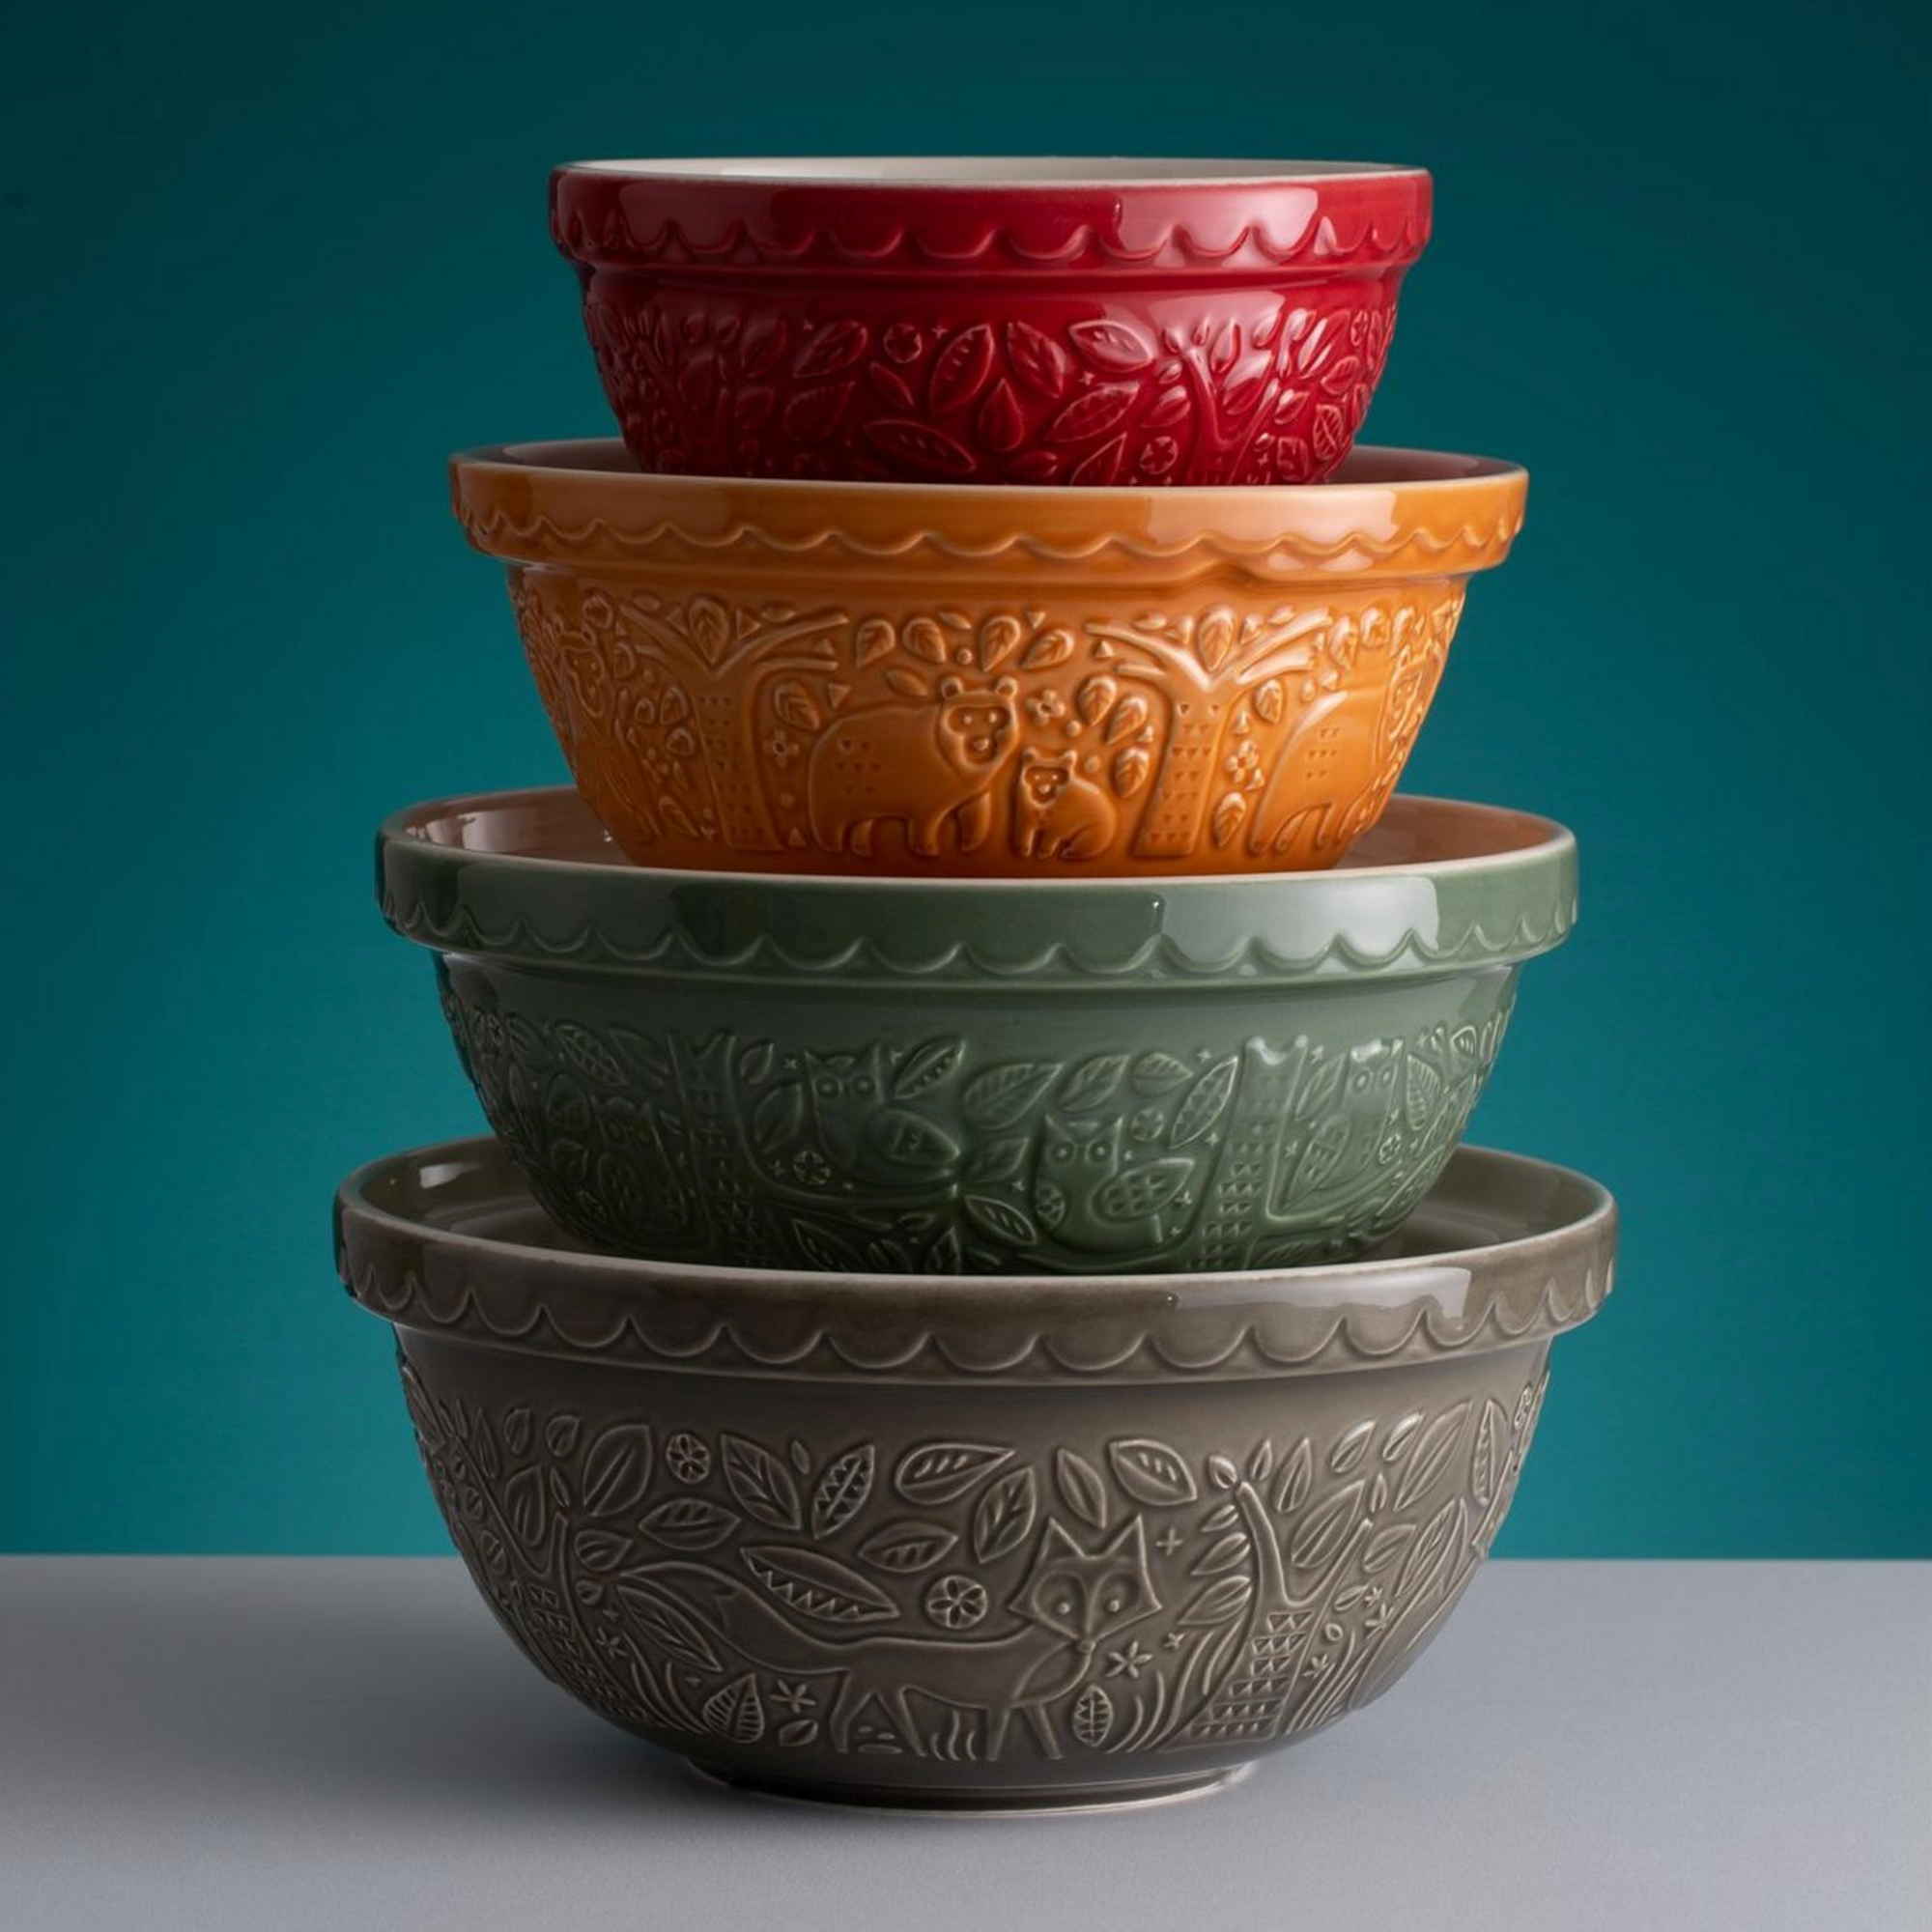
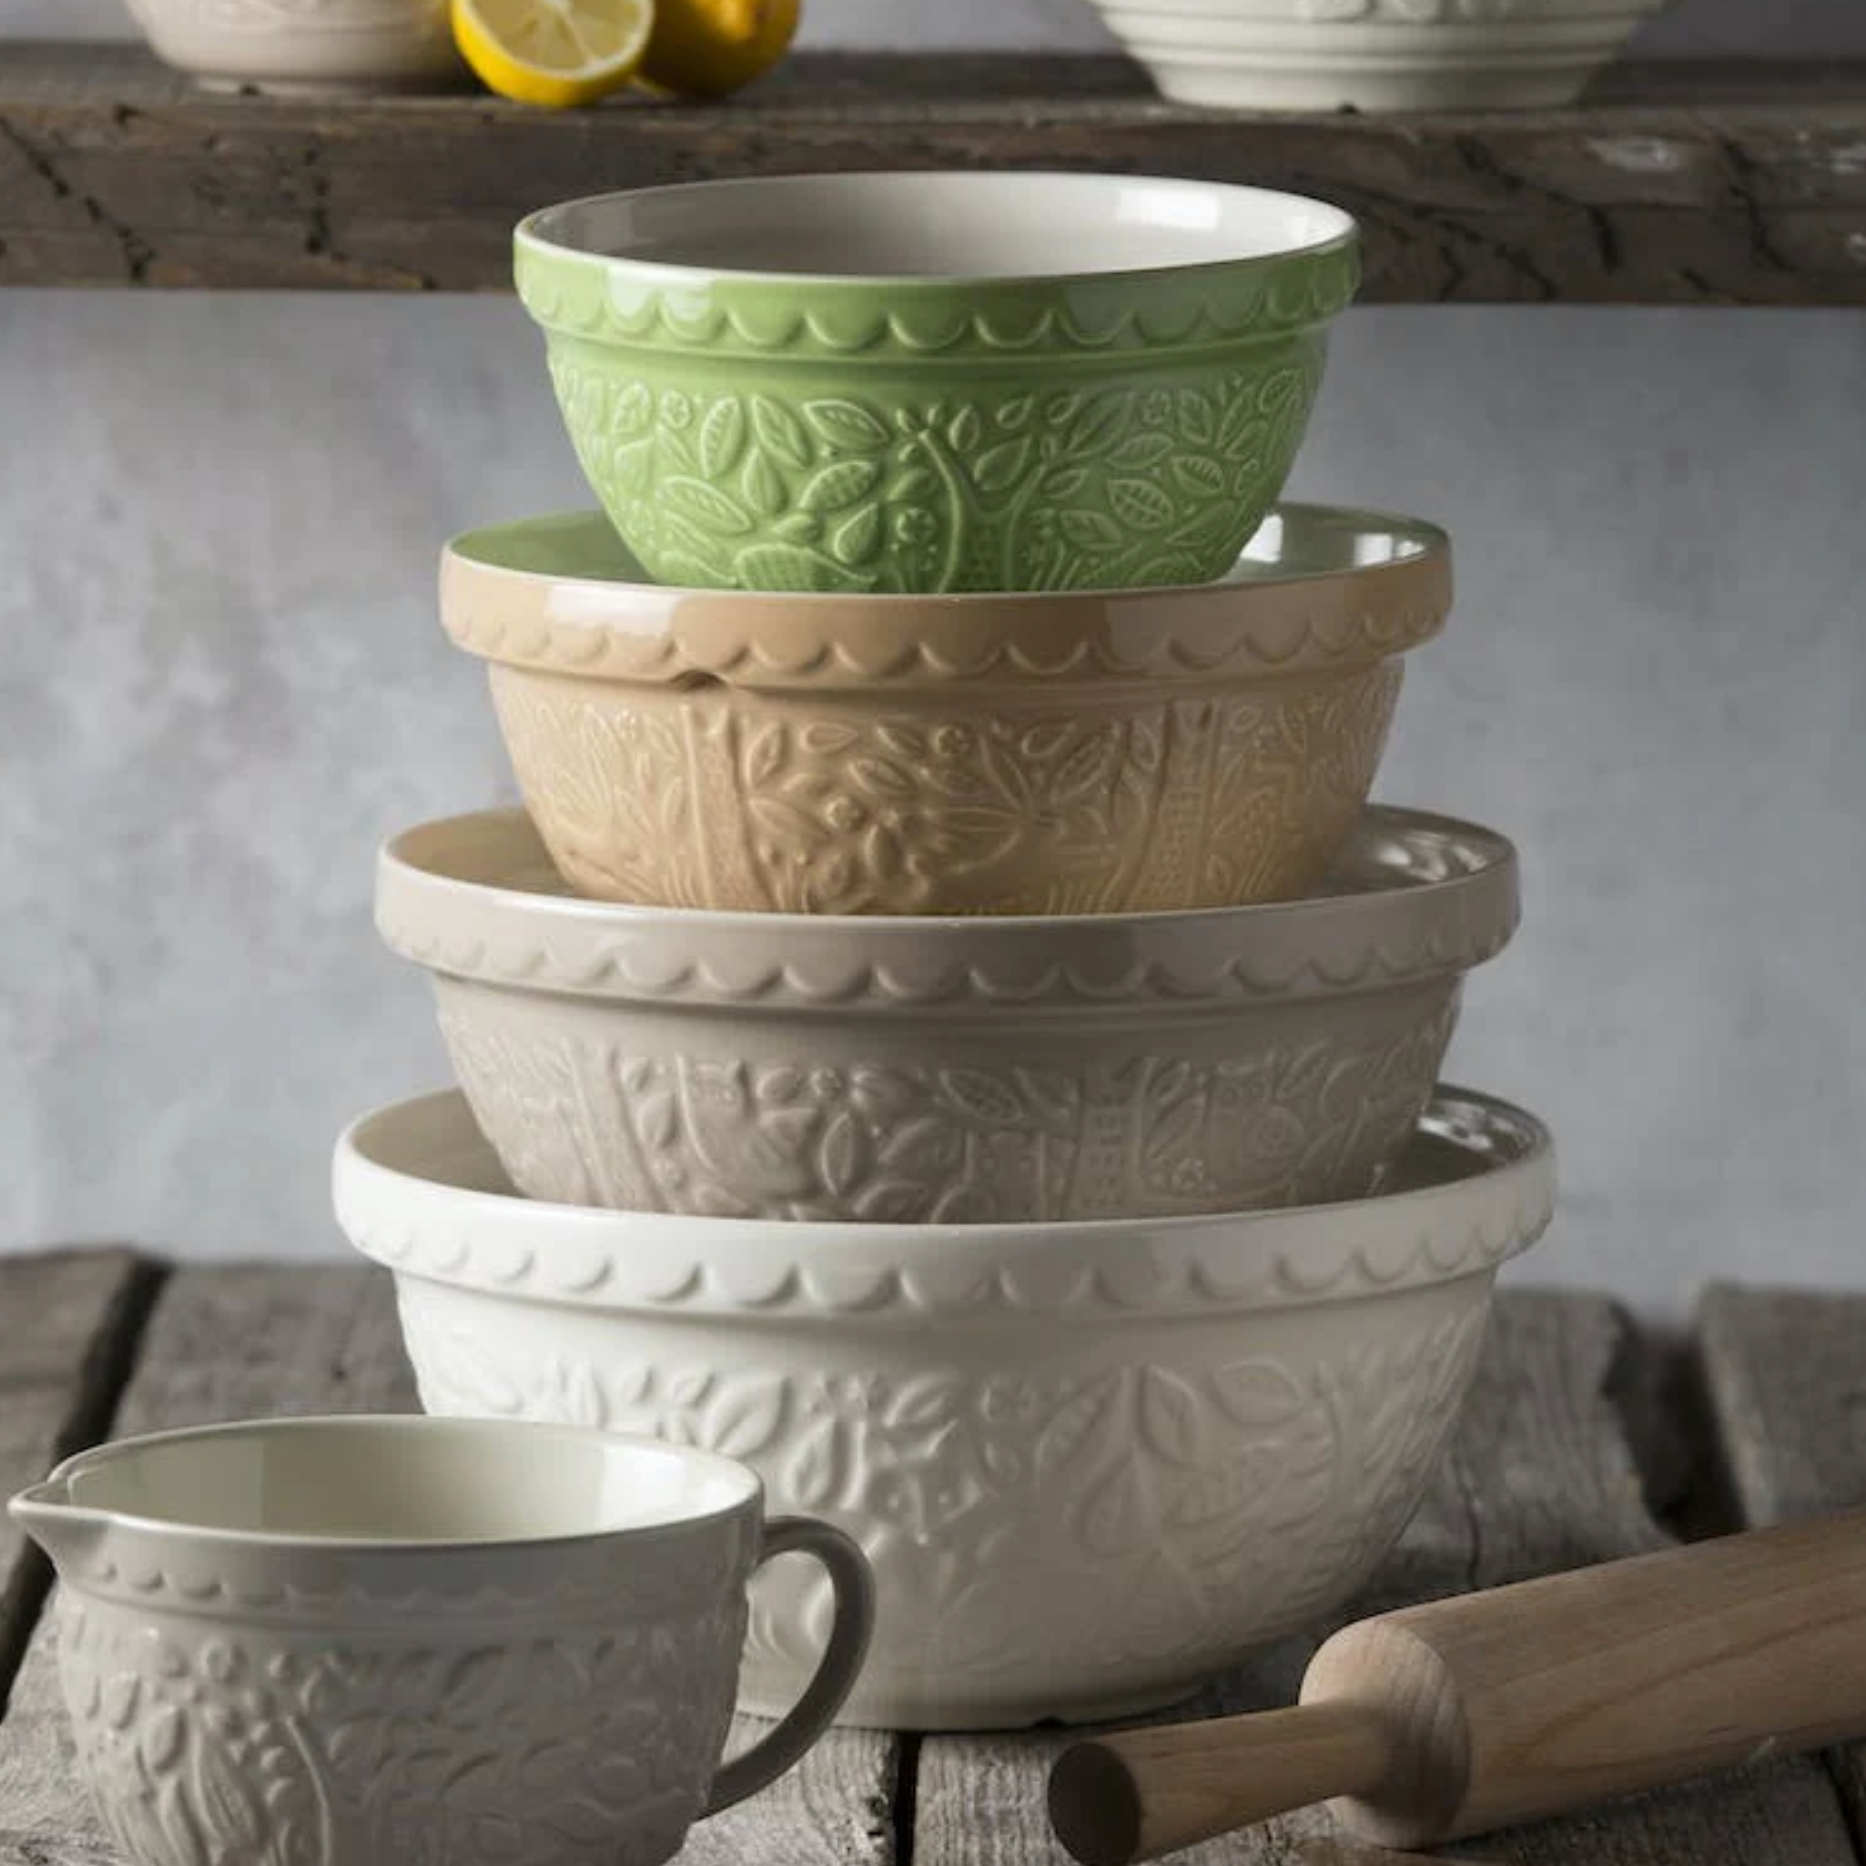
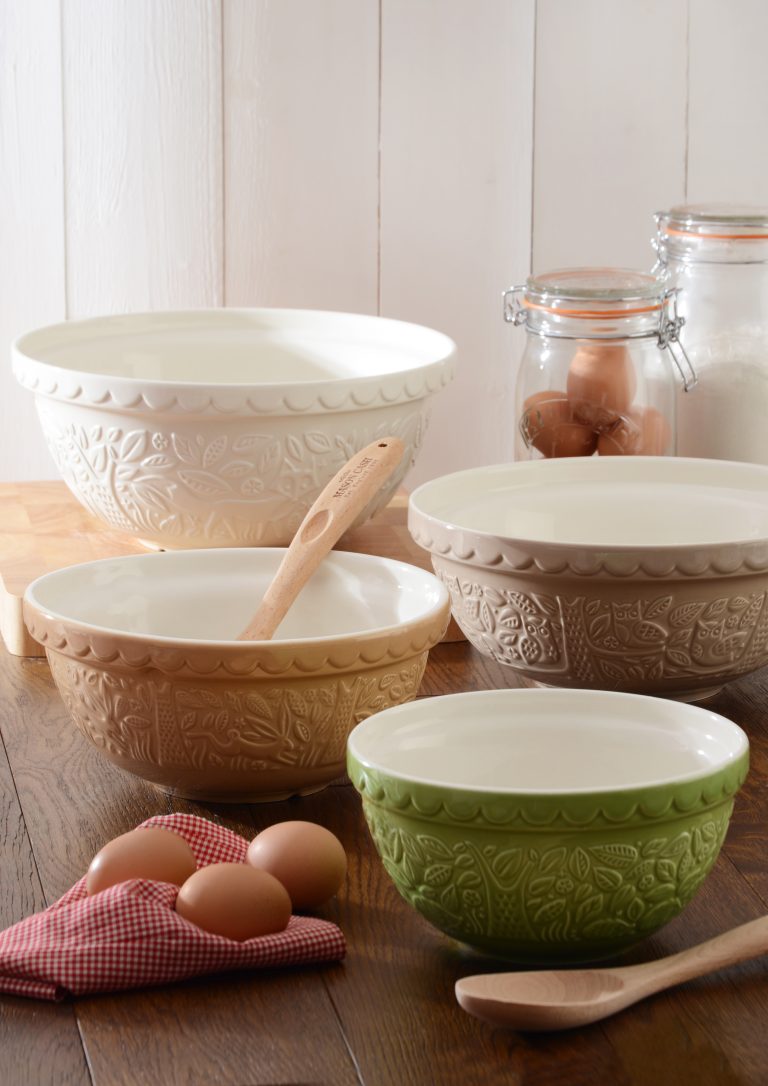
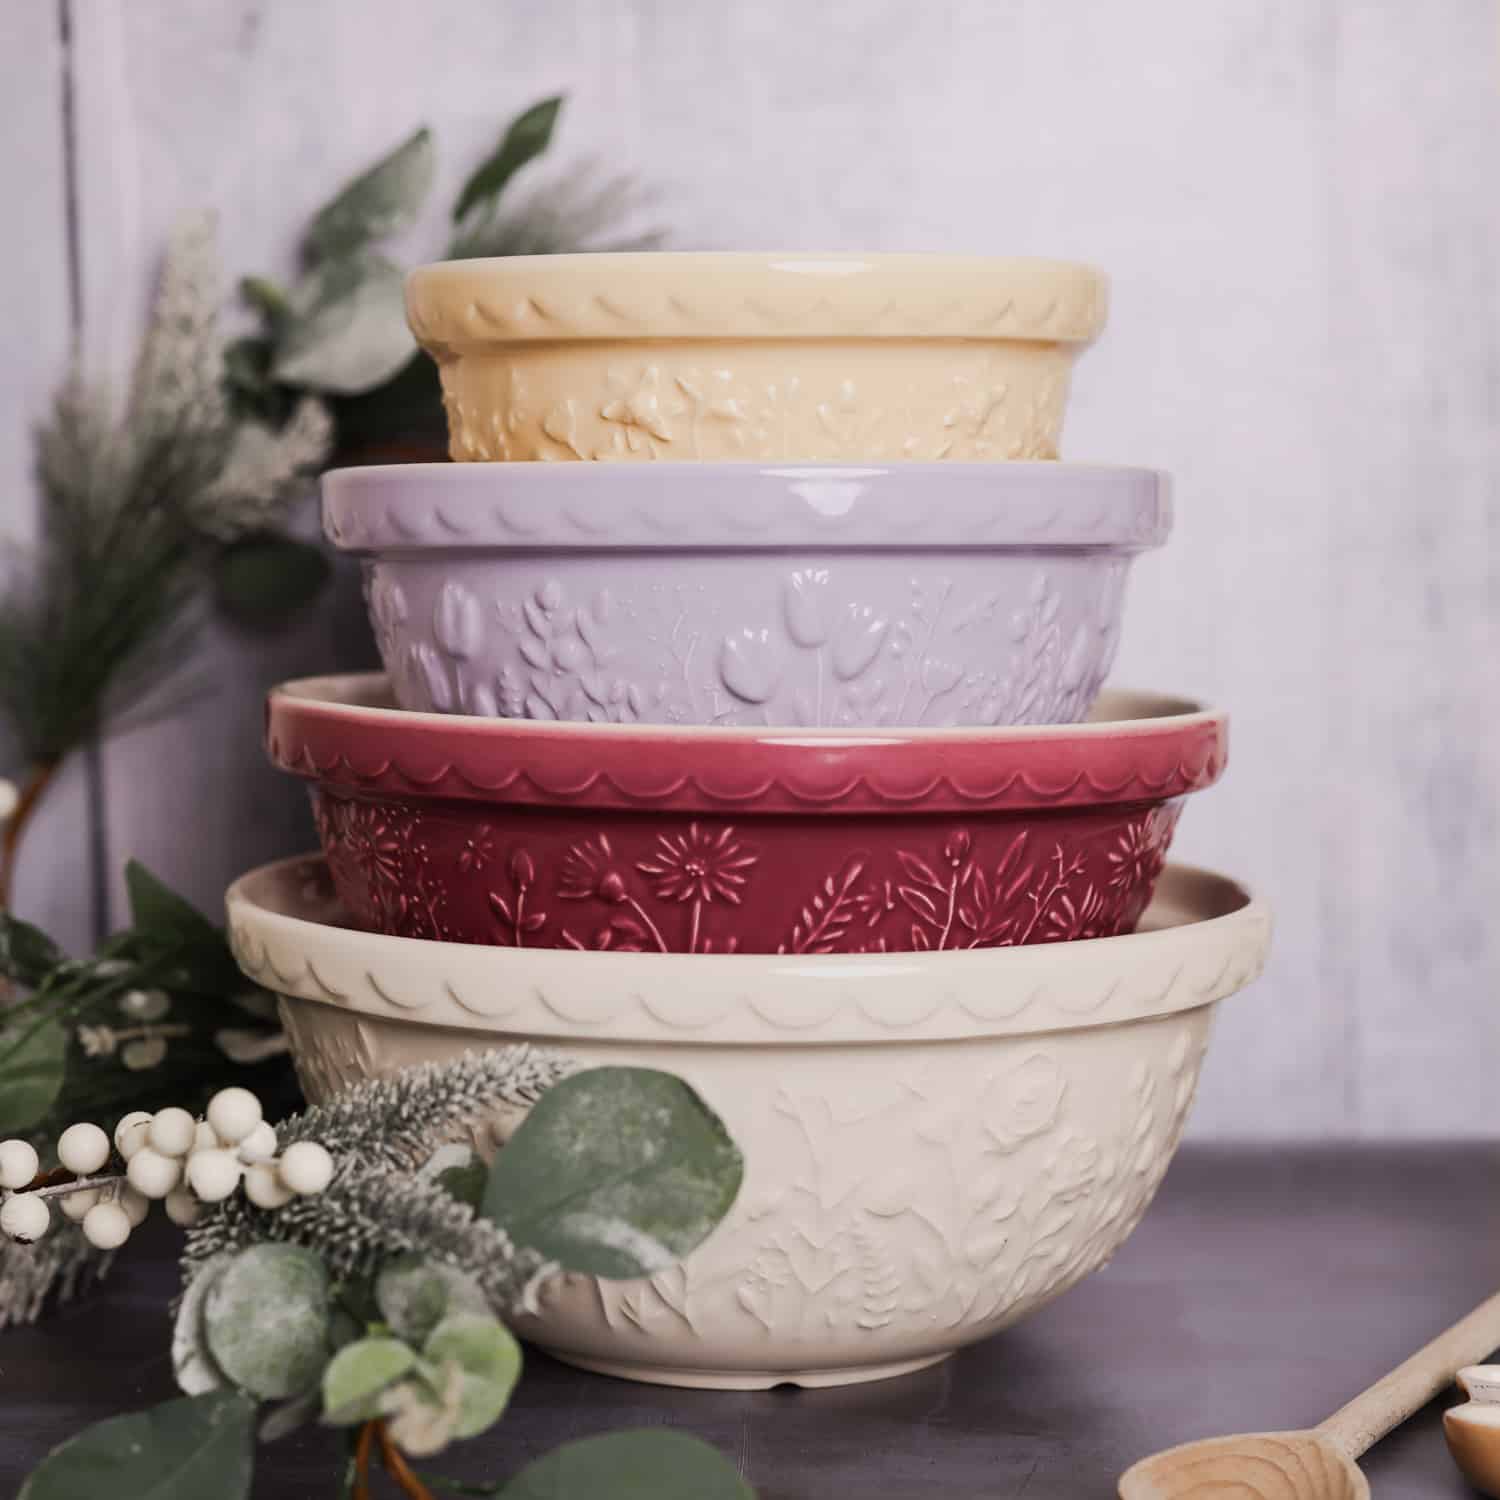
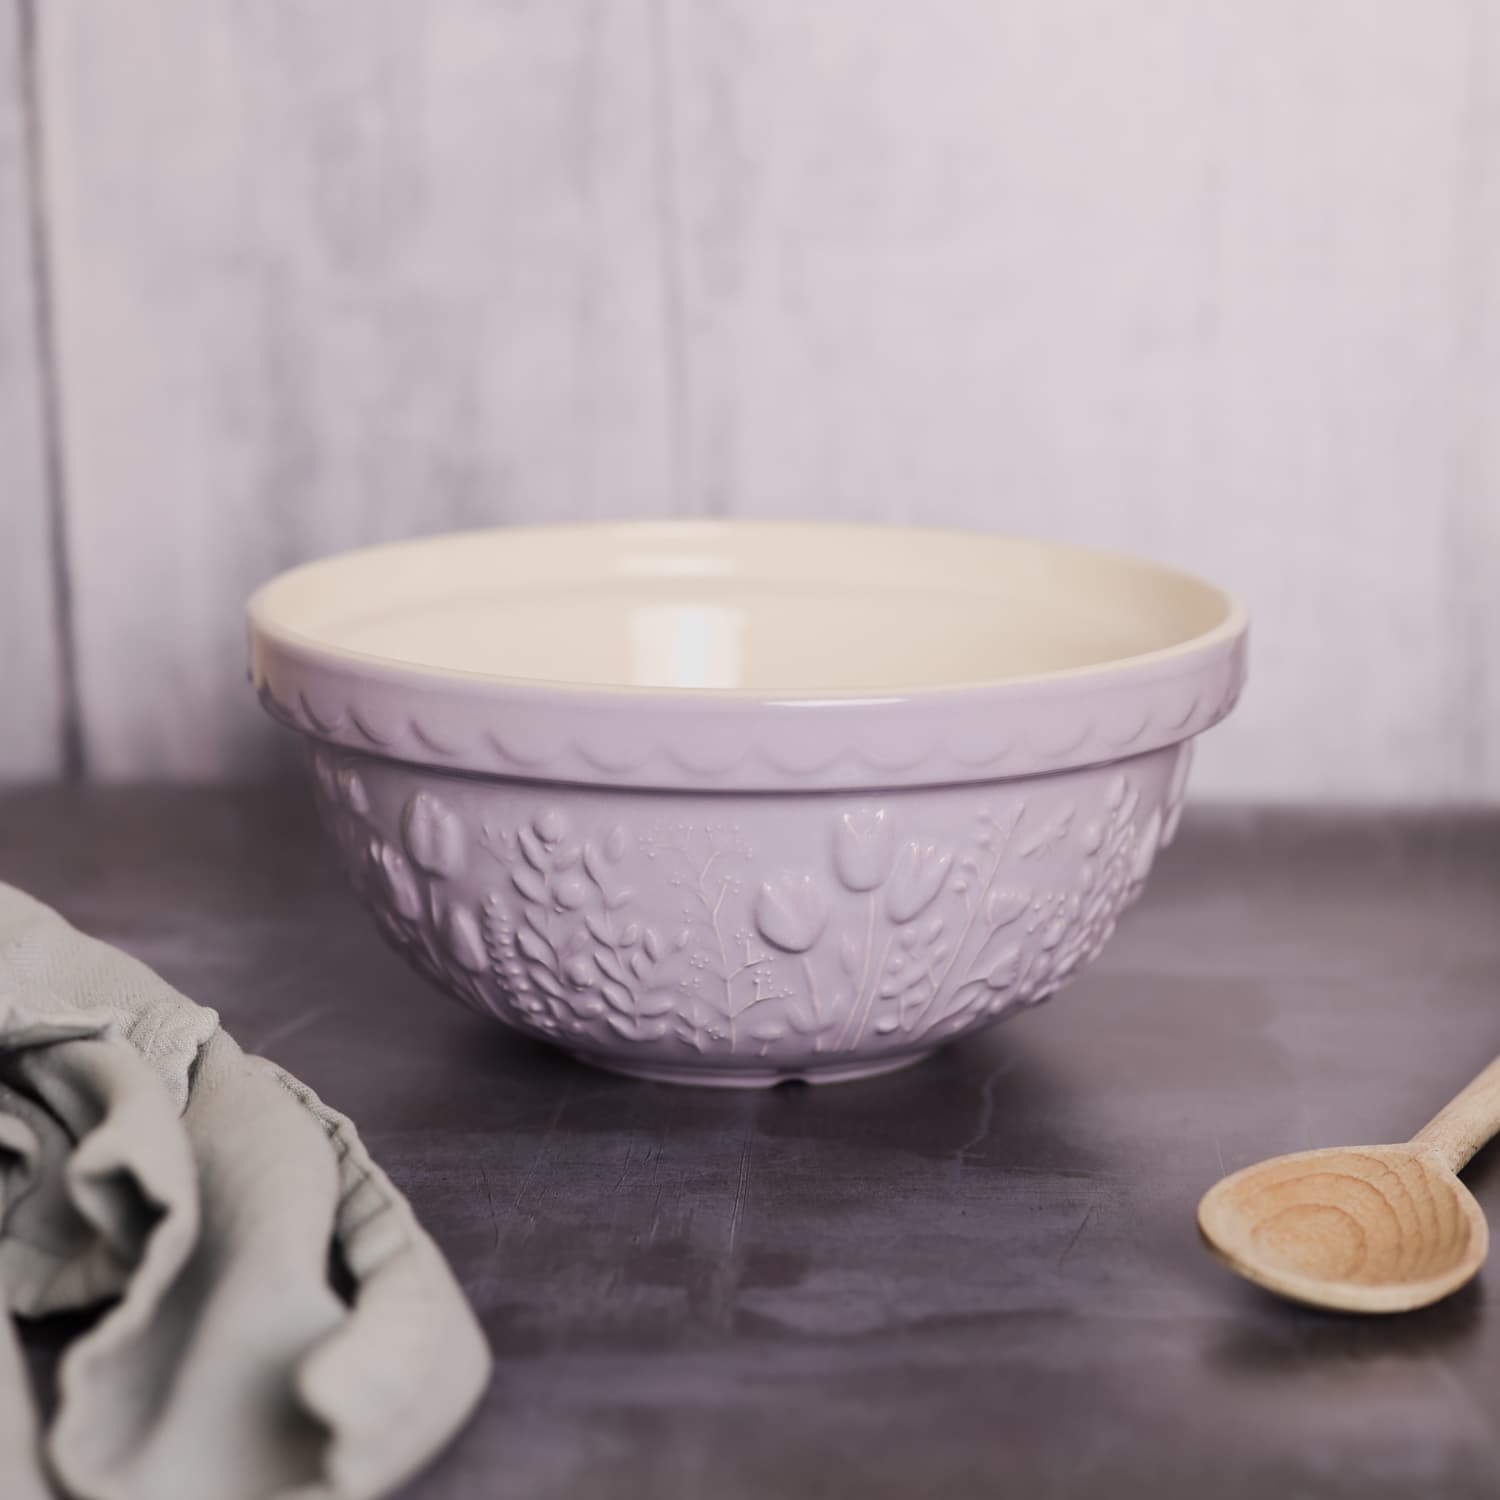
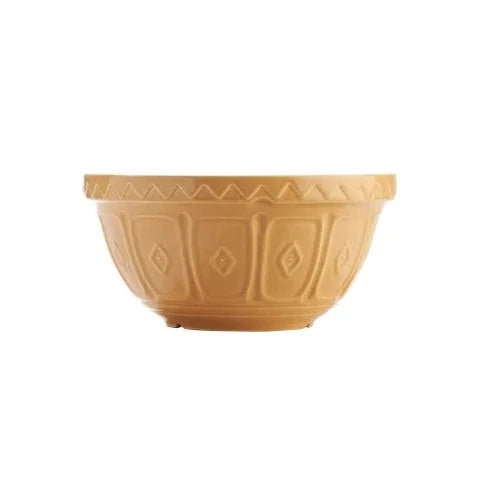
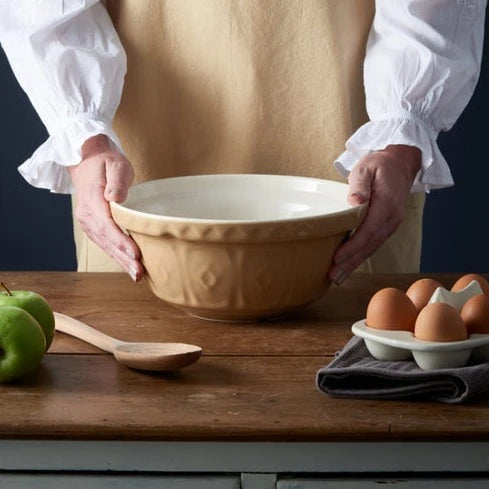
Recipes, Silver Mushroom- All Blogs, Spring, Stories

The Ultimate Afternoon Tea at Home

Afternoon tea at home with cake stand and cakes on white plates.

Now that spring is just around the corner, it’s the perfect time to be making the perfect afternoon tea at home. Whether you want to treat your Mother figure for Mother’s Day, treat all the special ladies in your life for International Women’s Day, or you’re simply in the mood for afternoon tea with no occasion at all. But, here at Silver Mushroom, we don’t believe in doing things by halves. So, with that in mind, here are our tea party ideas and menu suggestions to have your dream afternoon tea at home.

Whether you agree or not, we think afternoon tea starts with sandwiches. No matter how tempting it is to start on your delicious scones. It’s only fitting to start with some savoury afternoon tea recipes.

Savoury Afternoon Tea: Cucumber and Herb Triple-Deckers

Savoury afternoon tea cucumber and herb sandwiches on pink plate.

Cucumber finger sandwiches are without doubt the most traditional savoury afternoon tea sandwich. But, that doesn’t mean that we have to keep them basic. We are after all going for the perfect afternoon tea at home.

Ingredients 

1 small cucumber, thinly sliced

200g tub soft cheese

½ small bunch mint, finely chopped

small bunch chives, snipped

9 thin slices wholemeal bread

Method

STEP 1

Slice the cucumber and place it on kitchen paper to dry. Mix the cheese, mint and some seasoning in a small food processor or with a hand blender. Stir in most of the chives, then spread the cheese mixture over 6 slices of bread. Reserve 12 slices of cucumber, and arrange the rest over the cheese.

STEP 2

Layer up 2 slices of cucumber-topped bread, then top with a plain slice. Repeat this twice more. Use a good knife to trim the crusts off the triple-deckers, then cut each into 4 squares. 

STEP 3

Top each mini sandwich with another cucumber slice. Sprinkle with the remaining chives to serve.


Savoury Afternoon Tea: Mini Shrimp Rolls

The second of our savoury afternoon tea sandwiches is something slightly less traditional, but just as delicious. These mini shrimp rolls are the perfect flavourful, sweet element to your afternoon tea at home

Savoury afternoon tea shrimp rolls on napkins on green wooden table.

Ingredients 

500g medium peeled raw shrimp

1 celery stalk, sliced

4 tbsp mayonnaise

2 tbsp finely chopped pickled jalapeño slices, plus 1 tsp. pickled jalapeño liquid from jar

2 tsp fresh lemon juice

Salt & pepper to taste

2 tsp finely chopped fresh chives, divided

2 tsp unsalted butter

12 oblong mini brioche rolls, top-sliced

Method

STEP 1

Bring a medium pot of water to a boil over high. Add shrimp and remove the pan from heat. Cover the pot and let stand until shrimp are cooked through. This should be around 2 to 3 minutes. 

STEP 2

Once cooked, drain the prawns and let them stand at room temperature until cooled. Once cooled, chop up into small pieces. Stir together the celery, mayonnaise, jalapeno slices and juice, lemon juice, salt and pepper and one tsp of chives. Add to the shrimps and stir until coated. 

STEP 3

Melt 1 tbsp butter in a large nonstick skillet over medium heat. Place 6 brioche rolls in skillet, top sides down, and gently pull the rolls open to toast the insides until golden brown. Remove rolls from skillet and set aside. Repeat with the remaining butter and rolls.

STEP 4

Fill each roll with 2 tablespoons of shrimp mixture and sprinkle with remaining chives.


The Middle Course: Cinnamon Raisin Scones

Afternoon tea cakes, 6 cinnamon and raisin scones laid out on parchment paper.

After the finger sandwiches, it’s time to move onto the scones. For an afternoon tea at home simply wouldn’t be an afternoon tea without a scone. But of course, we’re here to inspire you with our tea party ideas, not give you the ordinary. Here’s some traditional scones, but with a delicious cinnamon raisin twist.


Ingredients

For the scones

120g  all purpose flour

60g raisins

65g white sugar

115g butter, cut into cubes

120g + 2 tbsp sour cream

2 tsp cinnamon

1 tsp baking powder

1/2 tsp salt

1/4 tsp baking soda

1 egg


For the glaze 

60g powdered sugar

1.5 tbsp milk

1.5 tsp cinnamon

1/2 tsp almond extract

1/4 tsp nutmeg


Method

STEP 1

Preheat the oven to 200°c.

STEP 2

In a large bowl combine the flour, baking powder, baking soda, cinnamon, and salt. Using a pastry cutter, cut in the cubed butter. Pour in the raisins and stir so they’re incorporated evenly throughout the dry mix.

STEP 3

In a small bowl, gently combine the egg and sour cream. Pour the egg mixture into the dry ingredients and stir to form the dough. If it’s too dry and the dry ingredients won’t work into the dough ball, add an additional tablespoon of sour cream. Use your hands to fully incorporate everything together.

STEP 4

On a lightly floured surface press and gently knead the scone dough until you form an even flat disc about 7″ wide. Slice into 8 triangle scones. Bake for 15-16 minutes.

STEP 5

While the scones are baking, combine all of the glaze ingredients in a small bowl. Allow the scones to fully cool before drizzling with the spiced glaze.


Afternoon Tea Cake: Angel Cake

Next up is the all important selection of afternoon tea cake. We wanted to go simple and easy, but bright and effective. The best way to give your afternoon tea at home that professional touch is by investing in an afternoon tea cake stand. Whether it be tiered or a cake dome, these extra touches will take your tea party from standard to sensational. 

These two afternoon tea cakes are pink and yellow – the perfect flavours and colours for springtime joy. The first is an all time favourite, with a decorative fondant feathering on top – angel cake!

Afternoon tea cakes, angel cake slices on plate.

Ingredients

For the cake 

50g unsalted butter plus extra for the tin

150g caster sugar

4 large eggs

150g plain flour, sieved

A drop each of pink and yellow food colouring

A drop each of lemon and raspberry extract


For the buttercream

100g butter, softened

200g icing sugar

1 tsp vanilla paste

½ tbsp milk


For the fondant icing

200g fondant icing sugar

Pink food colouring


Method

STEP 1

Heat the oven to 190C/170C fan/gas 5. Butter a 25 x 20cm baking tin, and line the base with baking parchment. Stack a sheet of baking parchment over a sheet of foil, then fold in half so the parchment is facing out. Use this to divide the tin into three sections crosswise, each about 8cm wide.

STEP 2

Melt the butter on the hob or in the microwave, and set aside. Put the sugar and eggs in a large heatproof bowl over a pan of just simmering water, making sure the bottom of the bowl doesn’t touch the water. Beat using an electric whisk until really thick and pale, about 4-5 mins.

STEP 3

Add a fifth of the mixture to the melted butter and mix to combine. Pour the butter mixture into the egg mixture, and carefully fold in along with the flour. Divide the mixture between three bowls. Leave one bowl of batter plain, then fold a drop each of pink food colouring and raspberry extract into the second bowl, and a drop each of yellow food colouring and lemon extract into the third bowl.

STEP 4

Carefully pour one of the batters into each of the three sections in the prepared tin. Bake for 12-15 mins until cooked through, or a skewer inserted into the middle of the cakes comes out clean. Leave to cool slightly in the tin, then carefully transfer the three cakes to a wire rack and leave to cool completely.

STEP 5

To make the buttercream, beat the butter, sugar, vanilla and milk together for 5 mins with an electric whisk until pale and creamy. To assemble the cake, put the plain sponge on a board and spread with half the buttercream. Top with the raspberry sponge, then spread with the remaining buttercream and top with the lemon sponge. Trim the sides so they’re straight, even and neat.

STEP 6

To make the fondant icing, sift the sugar into a bowl and mix with 1½-3 tbsp water until you have a thick, droppable icing. Transfer a quarter of the icing to a second bowl, and mix in a drop of pink food colouring. Transfer the pink icing to a piping bag.

STEP 7

Spread the plain fondant icing over the top of the lemon sponge, making sure it doesn’t drip down the sides. Pipe thin lines of pink icing on top across the width of the cake, space apart. Drag a cocktail stick through the lines lengthways to create a marbled effect. Leave to set slightly, then slice the cake into six even rectangles.


Afternoon Tea Cake: Lemon Drizzle Traybake

And finally, a palette cleanser to finish off the perfect afternoon tea at home. 

Slice of lemon drizzle cake on plate with fork.

Ingredients 

For the cake

70g softened unsalted butter

120g caster sugar

2 medium eggs

140g self-raising flour

1 tsp baking powder

finely grated zest 1 lemon

1 tbsp lemon curd

2 tbsp full-fat milk


For the drizzle topping

30g granulated sugar

juice 1 lemon


For the feather icing

250g icing sugar

3 tbsp water

splash of yellow food colouring

Method 

STEP 1

Heat oven to 180C/160C fan/ gas 4. Line a 20 x 20cm square baking tin with baking parchment.

STEP 2

Using an electric whisk, beat the butter and sugar together until pale, light and fluffy. Add the eggs and mix again. Add the flour, baking powder, lemon zest, lemon curd and milk, and mix with a wooden spoon until all the ingredients are thoroughly combined. Pour the mixture into the prepared tin and bake for 25-30 mins or until a skewer comes out clean.

STEP 3

Mix the sugar and lemon juice together and pour over the hot cake. Leave to cool in the tin. You can eat the cake as it is, or for a fancy finish, try making this feather icing.

STEP 4

Mix the icing sugar with just enough water to give a runny, but not watery, icing. Put a small amount of icing in a separate bowl. Add a few drops of the food colouring to the icing until pale yellow. Spoon into a disposable icing bag.

STEP 5

Remove the cake from the tin and peel off the baking parchment. Sit the cake on a wire rack over a baking tray. Spread the white icing over the top. Pipe thin lines of the coloured icing across the width of the cake. Use a cocktail stick to drag through the lines in opposite directions to create a feathered effect. Leave to set before cutting into slices.

Leave a Reply

Your email address will not be published. Required fields are marked *