


If you know us, you’ll know we love to get together with friends and family to celebrate even the strangest occasions! As national Cheese and Wine day approaches, it got us thinking about how to prepare and host for a night of nibbles and drinks with friends. Now we can all name some basic cheeses and know whether we prefer red or white, but do you really know what works hand in hand with what? For a casual and cosy night in after work, most do not deem this as important, but when faced with a dinner party, you want to elevate dining, make it an experience and truly impress your guests!
Party planning should be exciting but the immense pressure that comes with it sometimes makes it feel like a chore. Although there are no set rules on how to host a cheese and wine party, there are a few guidelines to follow that will help the party planning process run smoothly! In this blog we will take you through all the tips and tricks on how to host successfully, create an instagramable cheese board and pair the finest wines with the most complementary cheeses!
What You Will Need
1. The Ideal Glassware
 Now we all know that a fine selection of wine and cheese is at the top of our list, but a contribution from the right added extras can help transform casual drinks to fine dining!
Glassware plays an essential part in adding a touch of sophistication to your table, and so choosing the correct glasses is of up most importance. When serving red, choose a glass with a large bowl as the elegant shape helps guide the wine to the tip of your tongue, while allowing plenty of room for sniffing and swirling. On the other hand, when serving a sweet white wine, choose a glass with a narrower bowl as the smaller size and tulip shape helps to preserve the fruity flavours. Take a look here at our ever growing product selection to help you find the perfect glassware!
2. A Cheese Knife Set
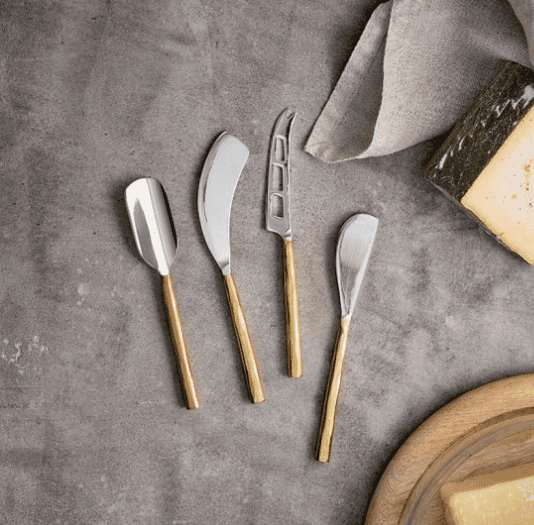
Let’s talk about why you need specific knives just for cutting cheese, as I’m sure you’re questioning why a regular butter or kitchen knife is not good enough. First of all, you need table appropriate knives to use for when digging into your delicious cheese board. Having a large kitchen knife sat next to a beautifully styled board not only opposes a hazard but spoils the aesthetic. Cheese knives offer a solution to this as they are the perfect size for slicing a delicate wedge of brie. A personal favourite of ours is the ‘Nkuku Darsa Cheese Knife Set’ which features 4 knives that are all tailored to either cut soft or hard cheeses. This beautiful set can be purchased In either a brushed silver or gold and makes for the perfect finishing touch to the dining table.
3. A Serving Board
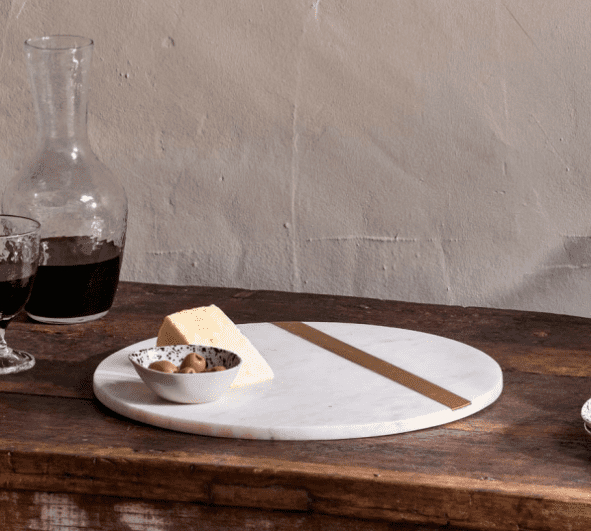
When hosting a cheese and wine party, a beautiful plate of cheese is a delight of tastes and textures to serve to your guests. The serving board is of up most importance and finding the right one for you is key as it acts as a canvas for your presentation. We recommend using one made of mango wood, slate or marble as they are the perfect base for all your culinary delights. To make your cheese board Pinterest worthy, display them using the Nkuku Kasa Round Marble Board which has a modern design and features a brushed gold stripe for added effect!
4. The Perfect Plates
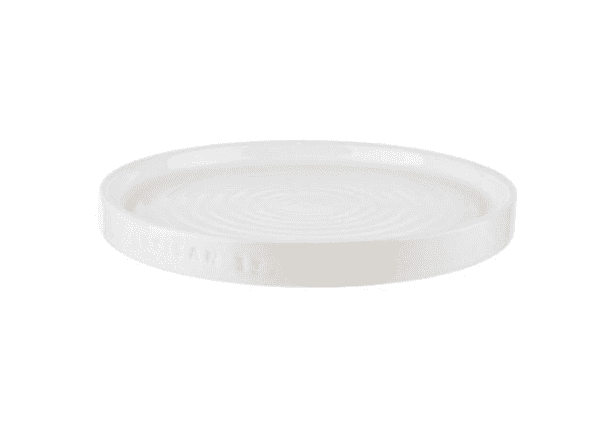
Your plates are naturally a big part of the table aesthetic and dining experience and so choosing the correct ones can be very difficult! When hosting, side plates are of great use so that your guests can eat their favourite cheeses and nibbles in smaller portions! We recommend the ‘Artisan Street Side Plates’ as they look great styled on your table and are extremely practical due to the high rim that ensures no food falls off.
The Best Pairings
Before you can even think about hosting, getting your flavours balanced and paired correctly is the first step! Trust us, it’s worth the extra effort for the delicious result. The acidity and sweetness of a well-paired wine cuts through the creamy barrier to unlock a fuller flavour on the palate which creates an excellent mouthfeel. If you are interested In learning about the perfect pairings, visit our most recent blog here to view the matches that will have your guests’ mouth buds truly tingling.
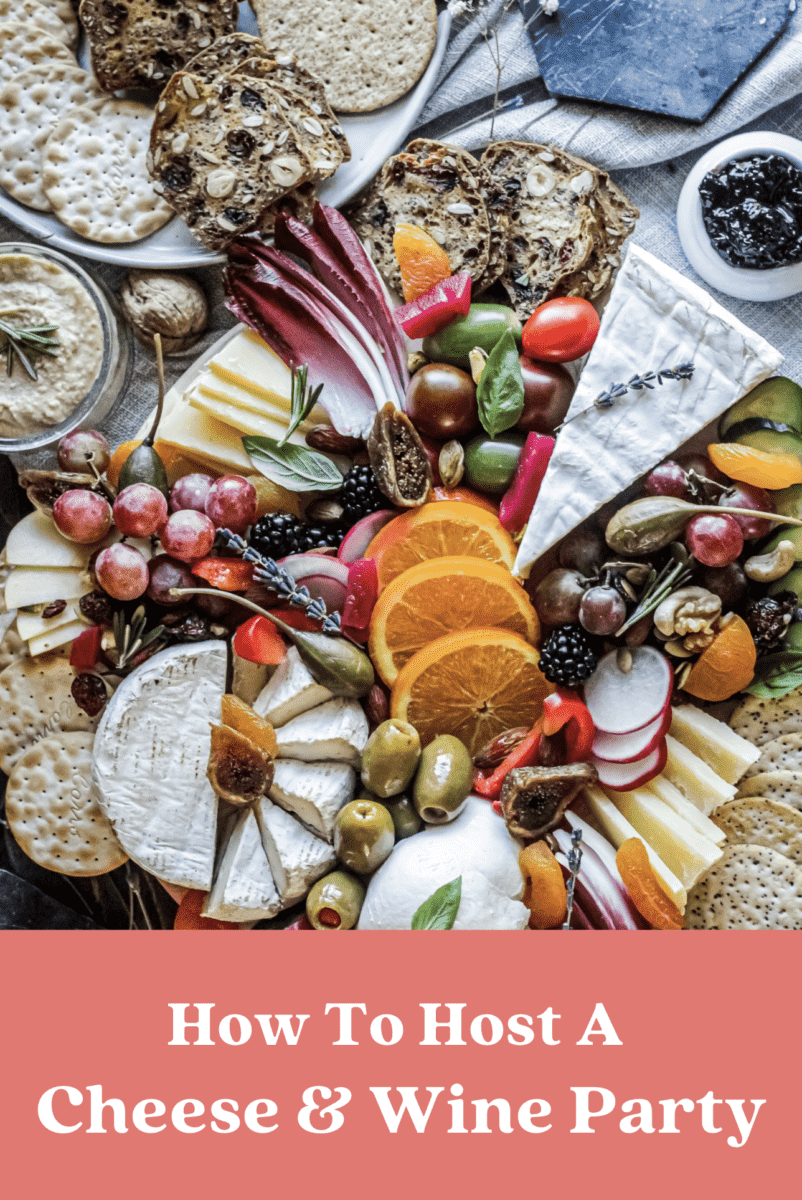
How To Make A Cheese Board
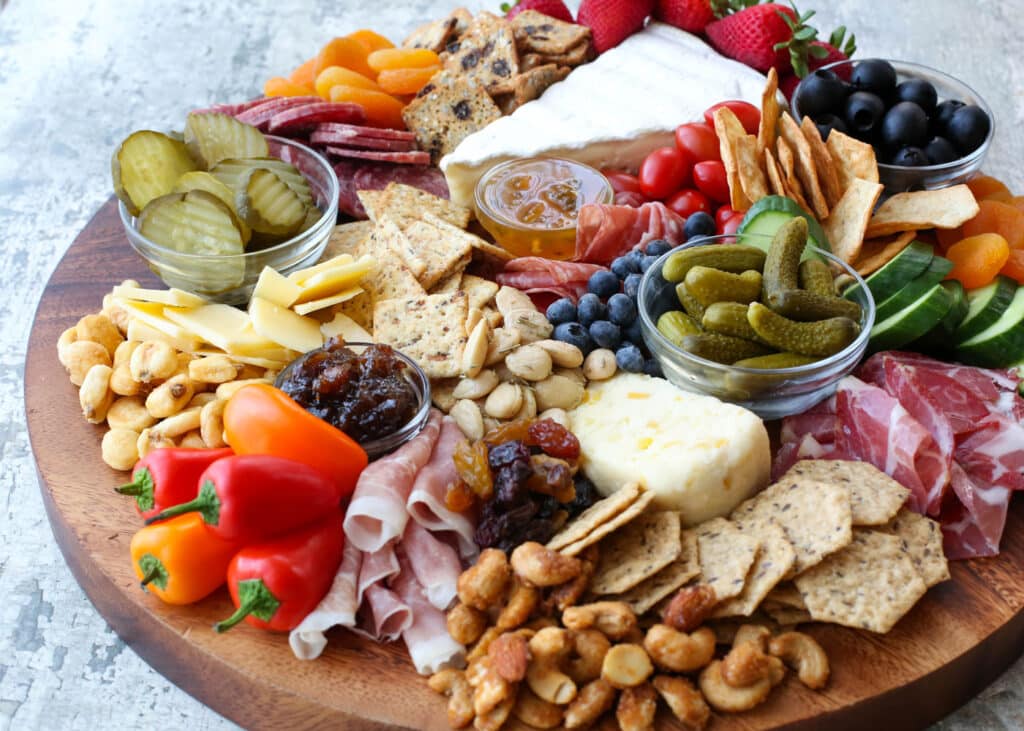
Let’s talk CHEESE! There are so many choices when it comes to building your cheese plate – and theres really no right or wrong way to do it! However, we will talk through some of the basic guidelines that will help you structure your board and make it Instagram worthy!
Step 1: Place Your Bowls
Start with the things that take up the most room on a cheese plate – you’ll tuck everything else into the blank spaces later on! Small bowls are great for storing jams, dips and cornichons, plus the height and round shape helps break up the cheese board to make it more fun to look at! Broste Copenhagen have an amazing selection of small bowls that are the perfect accessory and addition to a cheese board. Check our their product selection here.
Step 2: Arrange Your Cheeses
When arranging your selection of cheeses, try serving them in a variety of shapes and sizes to add visual interest! For hard cheeses, like the cheddar and parmesan, cut them into slices or cubes and stack them up on the board – this makes it easier for guests to grab a piece. For soft cheeses like brie, a personal favourite of mine, display as a whole and provide a cheese knife on the side for your guests to dig in when they please.
Step 3: Get Creative with Charcuterie
Next, add charcuterie to your cheese plate! A basic deli salami usually goes down a treat, alongside some salty prosciutto! Folding them is a key part in making your board insta worthy and we recommend arranging either in a simple stack, fanned out or in a half circle. This extra step is worth it for the stunning result and also leaves you with extra space to get creative with some sweet things!
Step 4: Style With Some Sweetness
Now that the big pieces are on our cheese plate, it’s time to have some fun and start filling in the gaps! This is where a cheese plate really starts to come together and where you get the WOW factor that will have your party guests talking for days! We love using a combination of both dried and fresh fruit as it brings out certain notes in the cheese, or vice versa. Fancy something tangy? Olives and artichokes go down a treat! Feeling something sweet? Grapes, apples and pears are the one for you! The list of complementary fruits is endless and there will always be something suiting for your guests placed on the board. To get the best result, try placing handfuls of the same fruit at opposite ends to help it look balanced (and makes it easier for guests to grab a grape from either side!).
Step 5: Add In The Extras
Next, add nuts! We opt for walnuts and almonds here but go crazy and add all your personal favourites! Drop a few into the smaller blank spaces on the middle of your board to add some texture and cover any open spots.
Step 6: Dips, Dips and more Dips!
Remember the bowls you placed on the board at the first step? Well now its time to fill them with your preferred condiments! In our house, we are all lovers of a good dip, whether it be with chips, cheese or crackers. If in need of some inspiration, we tend to reach for a delicious caramelised onion jam or spicy honey dip. They marry perfectly with all cheeses – sweet, tangy, soft or hard! If you are after going the extra mile, then follow the recipe provided here to help you make your own home made version!
Step 7: Garnish
YOU’RE ALMOST DONE! At this point, you have all the good stuff ready to go and have assembled a great cheese plate. All that’s left is to fill in any remaining teeny gaps to make your cheese board look full and inviting. Add some fresh arugula or sprigs of rosemary to add some greenery, bring your plate to life and fully complete the look!
So there you have it, our tips and tricks on how to host a successful cheese and wine party. We hope you found this guide useful and be sure to let us know in the comments if so. Get creative and we hope to see some of the beautiful boards you put together!
Poppy x